This post may contain affiliate links. When you purchase through links on our site, we may earn an affiliate commission. Read our affiliate disclosure
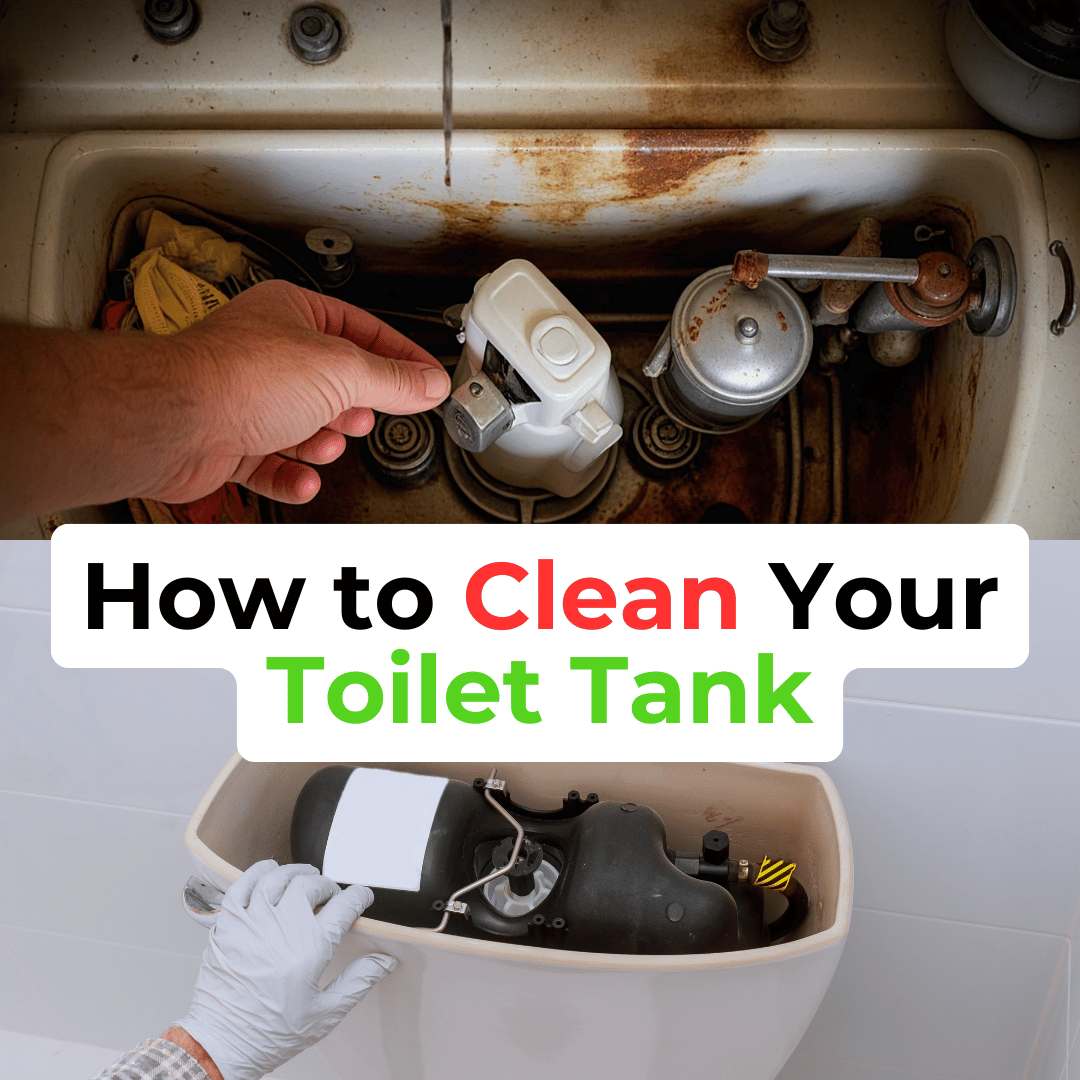
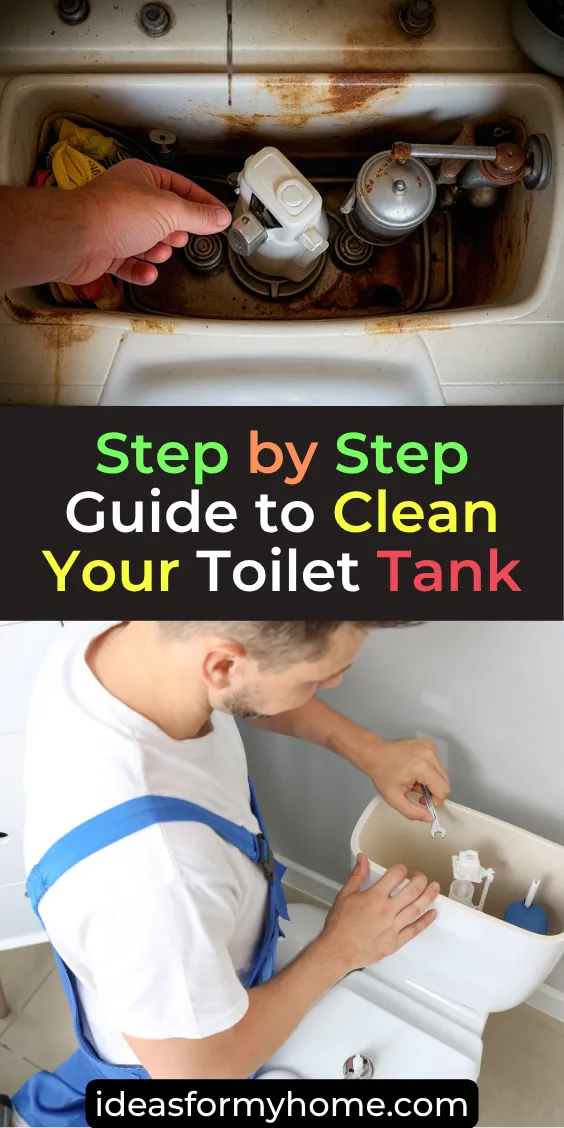
You will learn: how to clean your toilet tank with a simple step-by-step guide. It includes everything you need, such as preparing for the cleaning, cleaning the inside parts, soaking with vinegar, emptying the tank, scrubbing the surfaces, tips for disinfecting, and bonus tips.
In order to maintain your bathroom, you have to take care of your toilet tank. Most people clean only the toilet bowl. But they forget to give attention to the toilet tank.
Over time, dirt, bacteria, hard water stains, and mildew can collect in the tank. These can lead to unpleasant odors, rust, and even damage your toilet. This is why it’s important to clean the toilet tank. Here’s how to do it.
Why Should You Clean Your Toilet Tank?
- Clean your toilet tank at least twice a year. It will help you to remove grime, mildew, and mineral deposits.
- Cleaning helps improve toilet performance. Regular maintenance extends the life of tank components.
- If you have noticed persistent odors, clean your tank more often.
- Cleaning the tank prevents buildups. It could lead to stains, leaks, or running toilets.
- A clean tank supports a cleaner toilet bowl by reducing the spread of bacteria.
How to Clean Your Toilet Tank? Step-by-Step Guide
Supplies You’ll Need
- White distilled vinegar (4 cups or more)
- A long-handled toilet brush or scrub brush
- Rubber gloves
- Sponge or absorbent towel
- Bleach-free disinfectant spray
- Paper towels or rags
- Baking soda (optional for stain removal)
- A small container or cup (optional)
Step 1: Prepare the Toilet for Cleaning
- Find the water shut-off valve located behind the toilet. You will find it near the floor or the wall.
- Turn the valve clockwise. It will stop the water flow to the tank.
- Remove the toilet tank lid carefully. Place it on a towel to prevent damage.
- To remove as much water as you can from the tank, flush the toilet.
- You can use a sponge or a towel. It helps to soak up the remaining water at the bottom of the tank.
Step 2: Soak the Tank with Vinegar
Now, pour 4 cups of white vinegar into the empty toilet tank. Make sure the vinegar reaches all the visible areas of mineral buildup. Give the vinegar a minimum of one hour to sit. It will break down stains and grime. Open a window /turn on the bathroom exhaust fan to reduce fumes. Vinegar is eco-friendly. It is safe for plumbing and effective against bacteria and odors.
Step 3: Empty the Tank After Soaking
- Flush the toilet again. So that you can remove the vinegar and loosen the debris.
- You can use a sponge or towel to remove any remaining vinegar or dirty water. Now the tank is ready for scrubbing.
Step 4: Spray Disinfectant and Scrub
- Spray a bleach-free disinfectant on all interior tank surfaces.
- Let the disinfectant sit for at least 15 minutes. It will kill germs and loosen dirt.
- Avoid using bleach, as it can damage the tank’s rubber parts over time.
- Put on gloves to protect your hands from grime and cleaning chemicals.
You can use a toilet brush that has a long handle or a scrubbing brush to clean all tank surfaces. Scrub around the fill valve, flush valve, and tank walls. Use a sponge or paper towels to clean small or delicate areas.
Step 5: Deep Soak With Vinegar (Optional for Stains)
- If you still see heavy stains or rust, try a deeper soak with vinegar.
- Fill the tank with a 50/50 mix of white vinegar and hot tap water.
- Let the solution sit for up to 12 hours (overnight works best).
- Avoid flushing the toilet during this time, or the solution will be drained.
- Ask your family to use another bathroom while the solution works.
Step 6: Flush, Rinse, and Refill
- After soaking, flush the toilet to empty the vinegar mixture.
- Turn the water valve counterclockwise to restore water to the tank.
- Let the tank refill completely. Then flush a few more times to rinse it out.
Now your tank is clean, and your toilet is ready to use again.
Step 7: Make Your Toilet Tank Smell Good
After cleaning your toilet tank, follow these tips to keep it smelling good. To do this, add natural deodorizers, such as a few drops of essential oils (lavender or eucalyptus) on a cotton ball placed inside the tank, or use toilet tank cleaner tablets like this, designed to release pleasant scents and keep the water clean. Remember to avoid chemicals that may damage the tank’s components.
My recommendation:
Toilet Deodorizer Powerful Odor Eliminator
Amazon Basics Toilet Bowl Cleaner with Cling Action Formula
Bonus Tips: Clean the Internal Parts Too
While cleaning the tank, don’t forget the moving parts inside. These include:
Fill Valve:
Controls how much water enters the tank. Wipe it down with a damp cloth and check for buildup or wear.
Flush Valve:
Releases water into the bowl when you flush. Clean with a soft brush or sponge. After that, check for signs of wear, leaks, or cracks.
Rubber Flapper:
- Helps the tank seal properly after each flush.
- Avoid bleach, which can damage the rubber.
- Replace the flapper if it’s warped, cracked, or deteriorating.
Tips for Ongoing Maintenance
- Add 1 cup of vinegar to the tank once a month.
- Let it sit overnight and flush it in the morning to prevent buildup.
- Make sure to avoid toilet bowl tablets with bleach. These may cause corrosion and damage to rubber seals.
- You should inspect your toilet tank every month. Look for rust, stains, cloudy water, or signs of mineral buildup.
- For rust stains, make a thick paste with vinegar and baking soda.
- Apply the stain, let it sit for 1 hour, then scrub it away. Keep a cleaning schedule.
- Clean your tanks regularly (spring and fall).
Common Toilet Tank Issues to Watch For
While cleaning, you may notice some common problems. Here’s how to handle them:
Running toilet:
- Caused by worn flappers or faulty fill valves.
- Clean or replace parts as needed.
Leaking water:
- Check for cracks in the tank or worn seals.
- Tighten any loose connections or call a plumber.
Weak flush:
- This could be due to mineral buildup in the rim holes or a low water level.
- Clean the tank and ensure the water level is set correctly.
When to Call a Plumber?
- If you see visible cracks in the tan
- If your tank leaks constantly
- Sewage smells remain even after cleaning
- If the tank’s parts are badly rusted or broken
Conclusion
Cleaning your toilet tank is simple. It keeps your toilet running smoothly. Besides, cleaning eliminates odors and prevents damage from grime and mineral deposits. You can use these basic tools to deep clean your tank.
Do it every 6 months—or more often. If you have hard water, your toilet will stay cleaner, last longer, and smell fresher.
Read also:
How to Unclog a Toilet Full of Poop and Water: 10 Proven Fixes
How to Clean Toilet Bowl Ring? Try These 10 Effective Toilet Cleaning Methods
10 Instant Ways to Remove Cigarette Smell from Your Bathroom
How to Deep Clean Your Bathroom: 10 Must-Try Tricks That Actually Work
10 Ways to Keep Your Bathroom/Toilet Smelling Fresh All the Time

My name is Mostarefa. I am a content creator and editor of ideasformyhome.com. I am an expert in home improvement. In this blog, I write about home improvement ideas, trending home decor ideas, and cleaning & organizing tips.