This post may contain affiliate links. When you purchase through links on our site, we may earn an affiliate commission. Read our affiliate disclosure
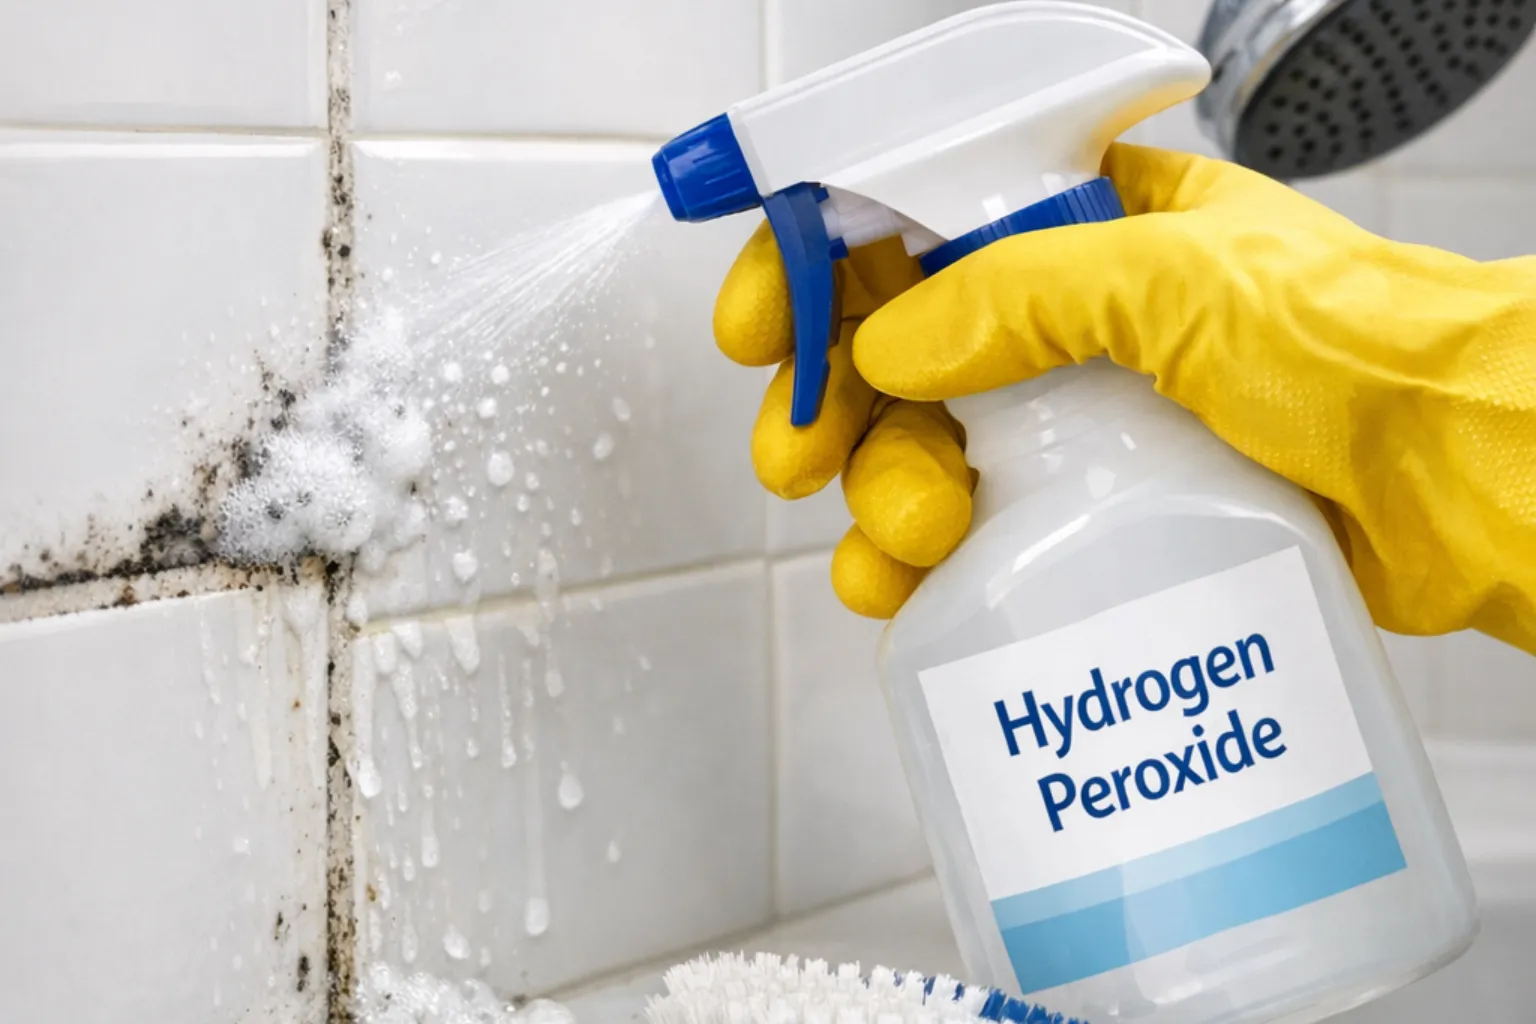
Is stubborn mold showing up on your shower grout? Using hydrogen peroxide is a great way to get rid of stains and make your grout look clean again. It goes deeper than regular cleaning and helps stop mold from coming back. In this guide, I’ll walk you through each step so you can keep your shower grout fresh and mold-free by using hydrogen peroxide.
It is more powerful and effective than soap and vinegar. It not only cleans the grout but also makes it look fresh again.
Why Mold Continues to Grow in Shower Grout
Mold is common because showers create the perfect environment. Hot steam soaks into grout’s pores, which absorb water easily, unlike tiles. Dampness and soap residue promote mold growth. According to the Environmental Protection Agency (EPA), mold can grow within 24-48 hours of getting wet. That’s why it often returns after cleaning. If grout stays damp or doesn’t dry fully, mold will keep regrowing, regardless of cleaning.
The Hidden Dangers of Bathroom Mold
Mold might seem harmless, but it is serious. Centers for Disease Control and Prevention (CDC) warns that it can cause breathing issues, allergies, asthma, and other health problems. Even healthy people can have skin and eye irritation. Over time, mold damages grout, leading to costly repairs. I ignored a small patch, and months later, the grout cracked. Mold is a risk to both your health and your money.
How to Find Mold in Grout and Stop It from Spreading
The earlier you notice mold, the easier it is to remove. It often starts as faint black or gray streaks in corners or between tiles.
Sometimes you’ll smell something musty before you see any stains. If discoloration keeps coming back after cleaning, that’s another sign of mold.
Here are some initial warning signs:
- dark, thin streaks along grout lines;
- a musty or damp smell after showering;
- grout appearing darker even after cleaning;
- slimy marks in corners and edges;
- patches spreading quickly after each shower.
Recognizing mold early allows for quick cleaning, saving you time and preventing a larger problem.
How to Clean Shower Grout Mold with Hydrogen Peroxide
Hydrogen peroxide is a strong but safe way to clean mold from shower grout. Here, I’ll describe how it kills mold quickly, how it affects grout, and why it works.
Why Hydrogen Peroxide Is Safe and Effective in Mold Removal
Hydrogen peroxide looks like plain water, but when it bubbles, oxygen is destroying mold and bacteria.
Studies show that a 3% Hydrogen Peroxide solution can kill mold on non-porous surfaces. The advantage is that it leaves behind only water and oxygen, not any harmful chemicals.
Here’s why hydrogen peroxide is such a great bathroom solution:
It penetrates the pores of grout and reaches mold beneath the surface. It completely destroys mold, unlike bleach, which only lightens stains. Additionally, it does not release harmful fumes and is safe to use in small areas.
Does Hydrogen Peroxide Damage Grout Over Time?
Many believe strong cleaners like hydrogen peroxide and bleach can damage grout. Yes, it’s true. Bleach can degrade and discolor it, while hydrogen peroxide is milder and safe for sealed or unsealed grout if not used daily.
I suggest you follow the timing and tips below:
- Limit your use to once a week or on occasion, rather than every day.
- After cleaning, always give the grout a thorough rinse.
- Hydrogen peroxide is 100% safer if your grout is sealed because it cannot penetrate too deeply.
Since it’s both powerful and safe, many cleaning experts prefer and recommend using hydrogen peroxide instead of bleach.
How Long Does It Take for Hydrogen Peroxide to Kill Mold?
Hydrogen peroxide takes time to remove mold from grout; quick spraying and wiping only clean the surface.
If you want to kill the mold completely, let the peroxide sit for a while. Light stains typically go away in 10 to 15 minutes, while tougher stains may need 25 to 30 minutes or even more. After the spray, you can do another task to save your time. Time optimization is very important in our lives.
If there are very stubborn mold stains, you might need to apply this solution several times. The fizzing means it’s breaking down the mold. Once the bubbling slows, you can scrub and rinse.
How to Prepare the Shower Area for Cleaning Grout Mold
Cleaning mold from shower grout with hydrogen peroxide actually starts before you even touch the grout.
If you skip the prep work, scrubbing will be harder, and the mold may stick around longer than you think.
Tools and Supplies You’ll Need
Preparing your cleaning kit beforehand prevents interruptions for supplies. Here’s a list of potentially needed tools:
- 3% hydrogen peroxide
- A spray bottle
- Baking soda can be added for additional cleaning power.
- A toothbrush or small grout brush for cleaning narrow spaces or lines.
- Heavy rubber cleaning gloves to protect your hands.
- Goggles or protective eyewear to avoid splashes.
- Old towels or paper towels for wiping.
- Spray bottle with water to rinse after cleaning.
Having these supplies ready makes the process much easier. The first time I cleaned mold without prepping, it took twice as long and left streaks everywhere. So, I suggest you gather all the essential tools and supplies before cleaning.
Prepare Your Shower for Easy Cleaning
Start by clearing out the shower area so you can clean it well. Take out all bottles of shampoo, conditioner, body wash, and other liquids. Remove any soap bars and mats from the floor. Also, make sure to take out your loofahs, sponges, or washcloths.
Before applying hydrogen peroxide, wipe away any loose dirt and soap scum so it can reach the grout directly.
To reduce steam and moisture, open a window or turn on a fan. Use a towel to gently dry the grout, but leave it a little damp. This slight dampness helps hydrogen peroxide work better.
If you have a shower curtain, pull it back or take it down for now. These simple steps make scrubbing much easier.
Safety Precautions When Using Hydrogen Peroxide
- Hydrogen peroxide is comparatively safer than bleach, but you still need to be careful. Put on sunglasses for your eyes and gloves for your hands.
- Avoid using hydrogen peroxide with other cleaning products, as this may result in hazardous fumes.
- Keep your bathroom well-ventilated while you clean. Afterward, rinse all surfaces well and remember to wash your hands.
Following these steps keeps you safe and helps the hydrogen peroxide work well. Now, let’s start cleaning your shower grout mold.
A Step-by-Step Guide to Cleaning Shower Grout Mold Using Hydrogen Peroxide
Hydrogen peroxide is a simple way to remove mold from shower grout. It’s an effective and safe method that won’t damage grout if you use it correctly.
Follow the easy, step-by-step instructions for mold removal using hydrogen peroxide given below.
Step 1: Gather Your Cleaning Tools and Supplies
Make sure you have the following supplies ready before you begin: a toothbrush (old or new) or scrub brush, hand gloves (good quality), a cloth or tissues for wiping, baking soda for tough mold, and a spray bottle.
Cleaning goes more quickly if all of your materials are ready. Studies show that with good preparation, cleaning can be 20–30% faster and less stressful.
Step 2: Prepare the Shower for Cleaning
Remove the soap dishes, loofahs, bottles, and mats. Start by removing soap scum and any loose dirt. It may surprise you to learn that 75% of surface dirt may hamper cleaning solutions.
Next, turn on the exhaust fan or open a window. Mold grows more when the humidity is more than 50 percent, so good ventilation is important.
Step 3: Apply Hydrogen Peroxide
Apply hydrogen peroxide directly to the moldy grout. Depending on the harshness of the stains, leave it for a few minutes. As much as 90% of surface mold can be eliminated in this way.
Use a toothbrush or scrub brush to gently scrub, then rinse well with slightly hot water. Repeat the procedure for stubborn areas. Up to 95% of the mold can be eliminated this way without causing any harm to the grout.
Step 4: Make a Baking Soda Paste to Remove Stubborn Stains
Make a paste by combining one part hydrogen peroxide and two parts baking soda for tough stains. Let it sit on the grout for 15 to 20 minutes after applying it.
Gently scrub, then rinse. Baking soda can increase cleaning efficiency by 25 to 50 percent and help prevent mold from coming back.
Step 5: Clean Surrounding Tiles
Apply a thin layer of hydrogen peroxide to the tiles surrounding the grout since mold can grow two to five inches from the grout onto the tiles.
Use a cloth to wipe or a little brush to clean the corners. This reduces the chance of mold returning to the freshly cleaned grout.
Step 6: Dry and Ventilate
Dry the tiles and grout properly after cleaning. Make sure the restroom is well-ventilated for a minimum of 30 minutes.
Remember, you should maintain the perfect humidity while cleaning. Keeping humidity below 50% can reduce mold growth by 60-80%.
Step 7: Maintain Clean Grout
Take the following tips to stop mold from growing again:
- Every week, after taking a shower, clean the grout and tiles.
- To get rid of extra water, use a squeegee.
- During and after showers, make sure the ventilation in the bathroom is turned on.
- Spot-clean with hydrogen peroxide once a month, if necessary.
- Mold will not grow in your grout if you maintain it regularly.
By following these steps, you can keep your shower grout clean, safe, and free of mold.
How to Clean Mold in Shower Grout with Hydrogen Peroxide Without Scrubbing
Most people don’t want to spend hours scrubbing shower tiles. Luckily, you can use hydrogen peroxide to clean mold from shower grout without any scrubbing.
Instead of struggling with a stiff brush, let hydrogen peroxide do the hard work for you.
Scrub-Free Methods That Let Peroxide Do the Work
Here, I have mentioned a few scrub-free methods:
1. Simple Spray Technique
Spray 3% hydrogen peroxide directly onto the grout and let it sit for a few hours. The fizzing helps lift the mold, so when you rinse it off, most of the black stains will be gone.
2. Make a Paste of Baking Soda & Hydrogen Peroxide
Grab some baking soda and hydrogen peroxide, and mix them together until you get a nice thick paste. Just spread it right onto your grout and let it hang out overnight. In the morning, the mold should come off easily when you rinse, without scrubbing.
3. Use a Foaming Cleaner
Try a foaming cleaner because it sticks to vertical grout lines longer. This helps the foam work better on mold that hides in corners.
4. Steam and Peroxide
Make a steam with hot water in your bathroom. Spray peroxide on the grout. The steam helps the peroxide go deeper and kill the mold.
5. Use an Electric Spin Scrubber (My Favorite Method)
Electric Spin Scrubbers are very useful, fast-cleaning tools that automatically scrub and clean your shower mold without hand scrubbing. I personally like this fantastic tool. If you don’t prefer scrubbing by hand, use this modern, techy Electric Spin Scrubber for fast, deep cleaning.
The Simplest Method To Clean Grout Without Needing To Scrub
Nobody likes cleaning the grout in their bathrooms. Your arms get fatigued, it takes a long time, and sometimes the mold still won’t come off.
Here are a few easy, tried-and-true methods for cleaning grout without the need for a scrub:
1. Hydrogen Peroxide Treatment Using Cotton Strips
Instead of scrubbing, let hydrogen peroxide sit on the grout. Soak cotton balls or strips in hydrogen peroxide and place them directly on the moldy spots.
Let the cotton balls or strips sit for an hour. After that, take it off and rinse the grout with warm water. The black spots will look lighter or may even disappear, and you won’t need to scrub.
2. Plastic Wrap Sealing Method
This trick is simple but very effective. Spray some hydrogen peroxide right onto the grout. Once you’ve done that, just lay a piece of plastic wrap over the area. This helps the peroxide really get to work!
Sealing keeps the liquid from drying out too fast and lets it work longer on tough mold. After an hour or two, remove the wrap and rinse the area.
3. Hydrogen Peroxide and Dish Soap Spray
Grab a spray bottle and mix up equal parts hydrogen peroxide and dish soap. Give it a good shake, then spray it all over your grout. Now just let it hang out for 30 to 40 minutes and let the magic happen!
The soap loosens grime while the peroxide removes mold. Rinse with warm water, and your grout will look brighter with little effort.
Rather than spending your energy scrubbing, let peroxide sit on the mold so it has time to break it down. This way, your grout gets a deep clean instead of just a quick wipe.
That’s all. I hope the above methods will help you clean the mold in your shower easily with simple household items and tools, and save you time.
Read also:
How to Deep Clean Your Bathroom: 10 Must-Try Tricks That Actually Work
How to Unclog a Bathroom Sink Fast: 8 Foolproof Fixes That Work
How to Clean Bathroom Mats: A Complete, Easy Guide (Machine, Hand, and Care Tips)
50 Genius Bathroom Smell Hacks That Actually Work

My name is Mostarefa. I am a content creator and editor of ideasformyhome.com. I am an expert in home improvement. In this blog, I write about home improvement ideas, trending home decor ideas, and cleaning & organizing tips.