This post may contain affiliate links. When you purchase through links on our site, we may earn an affiliate commission. Read our affiliate disclosure
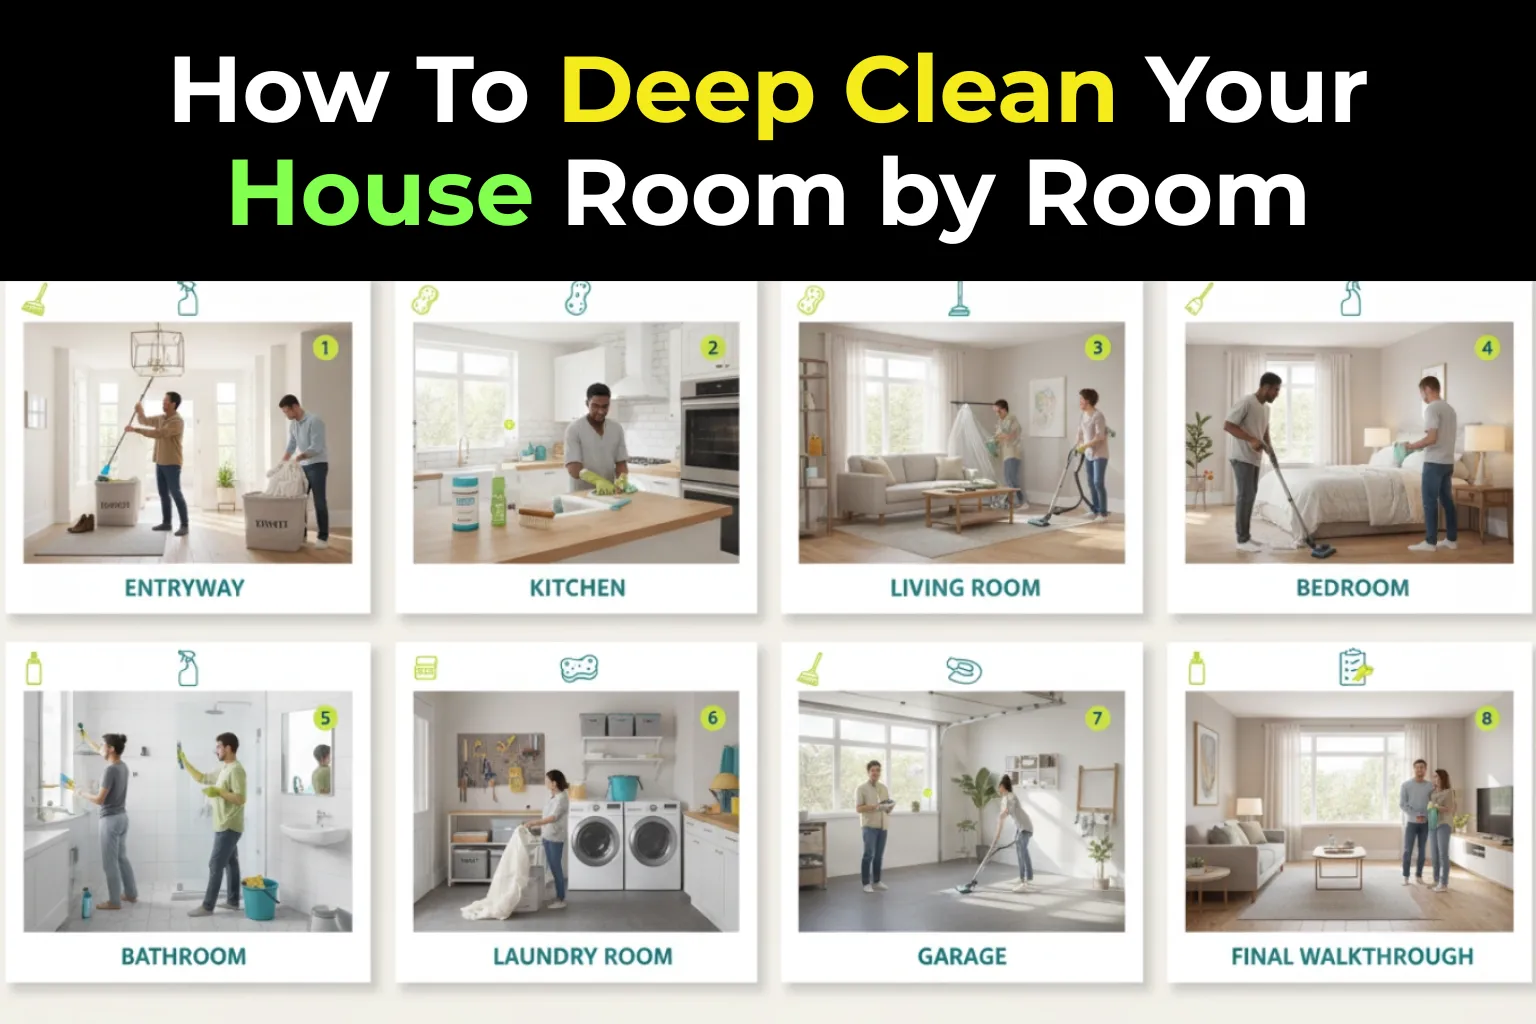
Deep cleaning your house really is a challenging task. But with proper guidelines, you can do it easily. In this guide, I will discuss a step-by-step guide to deep clean your home room by room, making your cleaning process easier.
Key Differences Between Regular Cleaning and Deep Cleaning
| Aspect | Regular Cleaning | Deep Cleaning |
|---|---|---|
| Frequency | Performed weekly or bi-weekly | Typically done every few months or as needed |
| Scope of Work | Focuses on surface cleaning and maintenance | Thorough cleaning of difficult-to-reach and neglected areas |
| Tasks Included | Dusting, vacuuming, sweeping, mopping, and cleaning frequently used surfaces | Scrubbing grout, cleaning behind appliances, washing windows, and decluttering |
| Time Required | Generally takes less time | Requires more time and effort |
| Level of Detail | Less detailed, focuses on maintaining cleanliness | More detailed and thorough, removes deep-seated dirt and allergens |
| Purpose | Maintains a tidy environment and prevents buildup | Restores cleanliness and freshness to often-ignored areas |
| Result | Keeps the space looking presentable | Provides a more intense clean and can improve indoor air quality |
Tools You Need for Deep Clean
1. General Cleaners
– Multipurpose cleaner
– Bathroom cleaner
– Stain remover cleaner
– Stainless steel cleaner
– Dish soap
2. Tools and Equipment
– Spray bottle
– Mop
– Vacuum
– Broom
– Duster
– Dusting gloves
– Bucket
3. Scrubbing Tools
– Tough scrub brushes
– Soft scrub brushes/sponges
– Microfiber rags (fuzzy and lint-free)
4. Surface Cleaners
– Glass cleaner
– Floor cleaner
5. Laundry and Upholstery
– Laundry detergent
– Upholstery cleaning machine
6. Specific Cleaners
– Dishwasher cleaner
– Oven cleaner
– Toilet bowl cleaner
– Washing machine cleaner tablets
How To Deep Clean Your Bathroom With Recommended Products
Before starting deep cleaning your bathroom, make it clutter-free. Put all the necessary items in a basket and the unnecessary items in the trash can.
Now, turn on the exhaust fan and, if possible, open a window. Put on heavy rubber gloves and any eye protection if using strong cleaners.
When done, start your cleaning process one by one.
Toilet: Scrub the inside of the bowl with strong toilet cleaner (like my favourite Lysol Toilet Bowl Cleaner); wipe the seat, lid, base, and flush handle with disinfectant. Many people prefer to use automatic toilet bowl cleaner tablets like this. Do not forget to open and clean your toilet tank.
Sink and Faucet: Clean the basin and faucet with a strong bathroom cleaner (I recommend Mold & Mildew Remover Spray). Clear the drain area of buildup. You can use Green Gobbler Drain Clog Dissolver.
Bathtub and Shower: Scrub tub surface, shower walls, doors, and tracks to remove soap scum and grime. In this case, you can use this tub cleaner.
Showerhead and Fixtures: Descale and wipe down to remove mineral deposits. To remove Lime, Rust, and Hard Water Deposits, you can use this CLR Brands® Spray. To clean your showerhead perfectly, I highly recommend using Shower Head Cleaning Brush.
Grout and Caulk: Scrub with a brush and a suitable cleaner to remove mold and dirt. You can use this Zep Plus Grout Cleaner
Mirrors and Glass: Wipe with a streak-free glass cleaner (I recommend HOPE’S Perfect Glass Cleaner) or vinegar solution.
Medicine Cabinet: Empty, declutter, and wipe shelves with a damp cloth.
Countertops and Vanity: Clean with an all-purpose surface cleaner.
Light Fixtures and Fan Covers: Dust and wipe gently with a damp cloth.
Towel Racks, Hooks, and Bars: Spray and wipe down with powerful disinfectant. You can clean these things using my favorite Clorox Disinfecting All-Purpose Cleaner.
Door, Handles, and Switch Plates: Clean and disinfect frequently touched areas.
Window Sills, Frames, and Blinds: Dust or wipe with a damp cloth.
Floor Tiles, Grout, and Baseboards: Mop floors and scrub grout; wipe baseboards clean.
Bath Mats, Rugs, and Shower Curtains: You can wash or launder them regularly to avoid deep cleaning.
Start by shaking out your bath mat to remove any loose dirt or debris. If your mat is machine washable, throw it in the washing machine. After washing, make sure to let it air dry fully. This helps prevent mold from forming.
Vacuum your rugs well to get rid of dust and dirt. If you see any stains, spot-clean them right away. Always check the care label before washing your rug to make sure you are cleaning it the right way.
Take down your shower curtain, and either wash it using a machine or by hand, depending on the material. For plastic liners, wipe them down often with a mild cleaner to keep them fresh.
You can read this guide about how to clean a big rug without a machine
Trash Can: Clean both inside and outside of your bathroom trash can. Here is a brief guide:
- Empty all trash and remove any liners or bags.
- Rinse the trash can with warm water to remove loose debris.
- Scrub inside and outside with a disinfectant cleaner (I prefer Clorox Disinfecting All-Purpose Cleaner) or a bleach solution.
- Rinse thoroughly to remove cleaning residue.
- Dry completely with a clean cloth or let air dry to prevent odors and bacteria. You can use your balcony if there is a runlight or a rooftop to dry it.
- Replace with a fresh liner or bag before use.
Decorative Items and Storage: Dust and wipe down to remove dirt and buildup.
N:B: If your bathroom has more accessories, you should clean them. Always try to dry the wet items in the sunlight perfectly before using them next time.
How To Deep Clean Your Kitchen
A kitchen has many accessories that need to be cleaned and organized. Here are a few of them.
Refrigerator (Inside and Outside): Remove all food, discard expired items, and wipe down shelves, drawers, and walls. Clean the exterior, handles, and seals thoroughly. If you see there is any stains, you can remove them by using this Whip It Multi-Purpose Stain Remover. I also recommend using Stainless Steel Surface Cleaner on the exterior of your Refrigerator.
Oven and Stove: Clean oven interior, racks, and door glass. Scrub stovetop, burner grates, knobs, and control panel to remove grease and spills.
Microwave: Clean inside and outside, including the turntable and door, to eliminate food splatters and odors.
Dishwasher: Wipe down seals, door edges, and clean the filter to ensure optimal performance and freshness.
Cabinets and Drawers (Inside and Outside): First, empty all the drawers of your cabinet. Then, wipe down shelves, doors, and handles thoroughly with a damp cloth, adding a spray of any multi-purpose cleaner. If you see any stain on the handle or door, use a strong stain removal cleaner before wipes. When cleaning is done, organize and discard expired items or clutter.
Countertops: Clear off all items and clean thoroughly to remove stains, crumbs, and bacteria. You can learn more about cleaning the kitchen countertop here.
Sink and Faucet: First, spray all-purpose cleaner. Wait a few minutes. Then scrub the basin, faucet, and drain. This way, you can clean, disinfect, and prevent buildup and odors. To learn more about cleaning your kitchen sink drain, read the article 6 Genius Ways to Clean Your Kitchen Sink Drain (Fast & Effectively)
Backsplash and Walls: Do not forget to wipe down tiles or painted walls to remove grease and splashes. If your kitchen wall is very greasy, you can use this grease cleaner.
Kitchen Table and Chairs: Clean all surfaces, including legs and undersides, to remove dirt and crumbs.
Floors and Baseboards: Sweep and mop floors; scrub grout if tiled, and wipe down baseboards.
Trash Can and Recycling Bins: Empty, wash inside and out, and disinfect to eliminate odors and bacteria.
Pantry Shelves: The pantry is an important part of your kitchen. You have to clean it very well. First, empty your pantry, wipe down shelves and all bottles, bins, jars, and organize items; discard expired goods.
Utensil Holders and Cutting Boards: Empty and clean utensil holders; sanitize cutting boards to prevent cross-contamination.
Spice Racks and Jars: Wipe down racks and clean jar exteriors; check for expired spices.
Dish Towels, Sponges, and Mop Heads: You have to clean these items regularly to avoid deep cleaning.
Door Handles and Light Switches: Disinfect frequently touched areas to reduce germs.
The main components of your kitchen that need deep cleaning are: the kitchen countertop, refrigerator, kitchen cabinet, and pantry. If your kitchen has additional accessories beyond those listed above, you can identify and clean them.
How To Deep Clean Your Bedroom
Your bedroom has a lot of things that need cleaning. Here are a few of them.
Remove and Clean Rugs: Rugs are a common bedroom accessory that most of us use. It gets dirty over time. For deep cleaning your rug, first remove your area rugs. Then, clean them by vacuuming thoroughly or by taking them outside to beat out the dust and dirt. You can find more tips about it in this guide: How to Clean a Big Rug Without a Machine
Clean Your Floors: If you have hardwood floors, you can use a Cordless Vacuum Cleaner with Powerful Suction, and after that, I recommend using Bona Hardwood Floor Cleaner. And if you have carpets on your floor, sprinkle baking soda, let it sit, and vacuum using a Powerful Carpet Cleaner Machine like this. And if you don’t have a machine, use the Carbona Carpet Cleaner with Brush.
Dust and Wipe Surfaces: You have to dust all surfaces of your bedroom including nightstands, dressers, and shelves. In this case, you can use my favorite Swiffer Heavy Duty Duster Kit. Wipe them down with a suitable cleaner to remove grime. Many people use this Clorox Disinfecting Cleaning Wipes.
Clean the Mirrors: To clean your bedroom mirror, apply a good glass cleaner like Amazon Basics Glass Cleaner, then wipe it down with a fresh cloth. You have to clean all mirrors, including those above nightstands, dressers, and other surfaces, to remove smudges and fingerprints for a sparkling finish.
Freshen Up Humidifiers: If you use a humidifier in your bedroom, you have to clean it during the deep cleaning period. To do that, fill the humidifier tank with a 1:1 mix of water and vinegar, let it sit for at least one hour, then rinse it well to prevent mold and bacteria. If possible, use Humidifier Cleaner Drops.
Declutter and Clean the Closet: Remove all clothes, place them on a clean sheet or on your bed. Now, take a fresh cloth, spray a surface cleaner, and wipe down all closet surfaces, including the top and underneath. Consider adding a lavender sachet for a fresh scent. You can also use a moisture absorber like this to remove extra moisture from the air. This helps get rid of musty smells and makes the air feel fresher and cleaner.
Wash Your Bedding: Take off all the bedding from your bed, including pillowcases, sheets, and duvet covers, and wash them to get rid of allergens and dust mites. Do not forget to clean your valuable mattress. It may have bed bugs and other pests inside it. You have to clean it perfectly. Consider using the FEPPO Handheld Mattress Vacuum Cleaner. It reaches deep into mattresses and fabric layers to remove fine dust and skin flakes.
Clean Windows and Curtains: Wipe down window sills and clean curtains or blinds to remove dust buildup. To clean your window, you can use a Window Cleaning Kit with an extendable handle. And, place your curtains in the washer and use strong detergents for better cleaning.
Organize Everything: Okay, now that you’ve completed cleaning everything in your bedroom, it’s time to get things organized! This is where your room really starts to feel fresh and comfy.
How To Deep Clean Your Laundry Room
Dust: Like other rooms, your laundry room can accumulate dust that needs cleaning. To do that, start dusting the whole laundry room from top to bottom. Make sure to get the corners, behind and under the washer and dryer, baseboards, windows, and ceiling fans to clear away dust and cobwebs.
Clean Washer: If you have a single or multiple washing machines, deep clean them all. To do that, run a cycle with vinegar and baking soda to sanitize and remove odors. It will clean better if you use Washing Machine Cleaner Descaler. Also, wipe down the exterior with mild soap and warm water. You can try this Therapy Stainless Steel Cleaner.
Dryer: Wipe down the outside and inside of the dryer with soapy water. Empty and clean the lint trap, removing wax buildup caused by fabric softener if present. Don’t forget to dust and vacuum behind the dryer.
Countertops: Spray countertops with a multi-surface cleaner, let it sit for a few minutes, then wipe clean. Also, clean frequently touched areas, such as doorknobs and drawer handles.
Windows: Clean both sides of the windows, including sills and frames. Remove and wash screens if possible.
Vents: Dust vents with a Vent Cleaner Brush or a Window Blind Cleaner Tool; vacuum with a brush attachment; and wipe with a soapy cloth to remove dirt and dust.
That’s all for now! If you love the above deep cleaning ideas, share them on your Pinterest profile and your favorite social media.
Read also:
How To Clean Your Entire House in 1 Hour
How to Deep Clean Your Bathroom: 10 Must-Try Tricks That Actually Work
6 Genius Ways to Clean Your Kitchen Sink Drain (Fast & Effectively)
How to Clean Under the Bed Without Moving It
How to Clean Toilet Bowl Ring? 10 Effective DIY Methods
How to Clean a Big Rug Without a Machine
How to Clean Hardwood Floors Naturally: 7 Quick & Easy Tips
How to Clean a Leather Couch Naturally at Home

My name is Mostarefa. I am a content creator and editor of ideasformyhome.com. I am an expert in home improvement. In this blog, I write about home improvement ideas, trending home decor ideas, and cleaning & organizing tips.