
This post may contain affiliate links. When you purchase through links on our site, we may earn an affiliate commission. Read our affiliate disclosure
You will learn: 6 simple ways to clean your kitchen sink drain. These methods include using hot water, natural cleaners, a plunger, cleaning out the sink trap, and using a plumber’s snake.
Does your kitchen sink leak, smell, or drain slowly? You’re not alone. A foul or clogged sink is frustrating, but you can often fix it yourself using common household items. No need to call a professional.
Below is a simple guide to clean your kitchen sink drain without spending much. Follow these steps to restore a clean, odor-free, properly draining sink.
6 Easy Ways to Clean Your Kitchen Sink Drain
Method 1: Start by Flushing with Hot Water
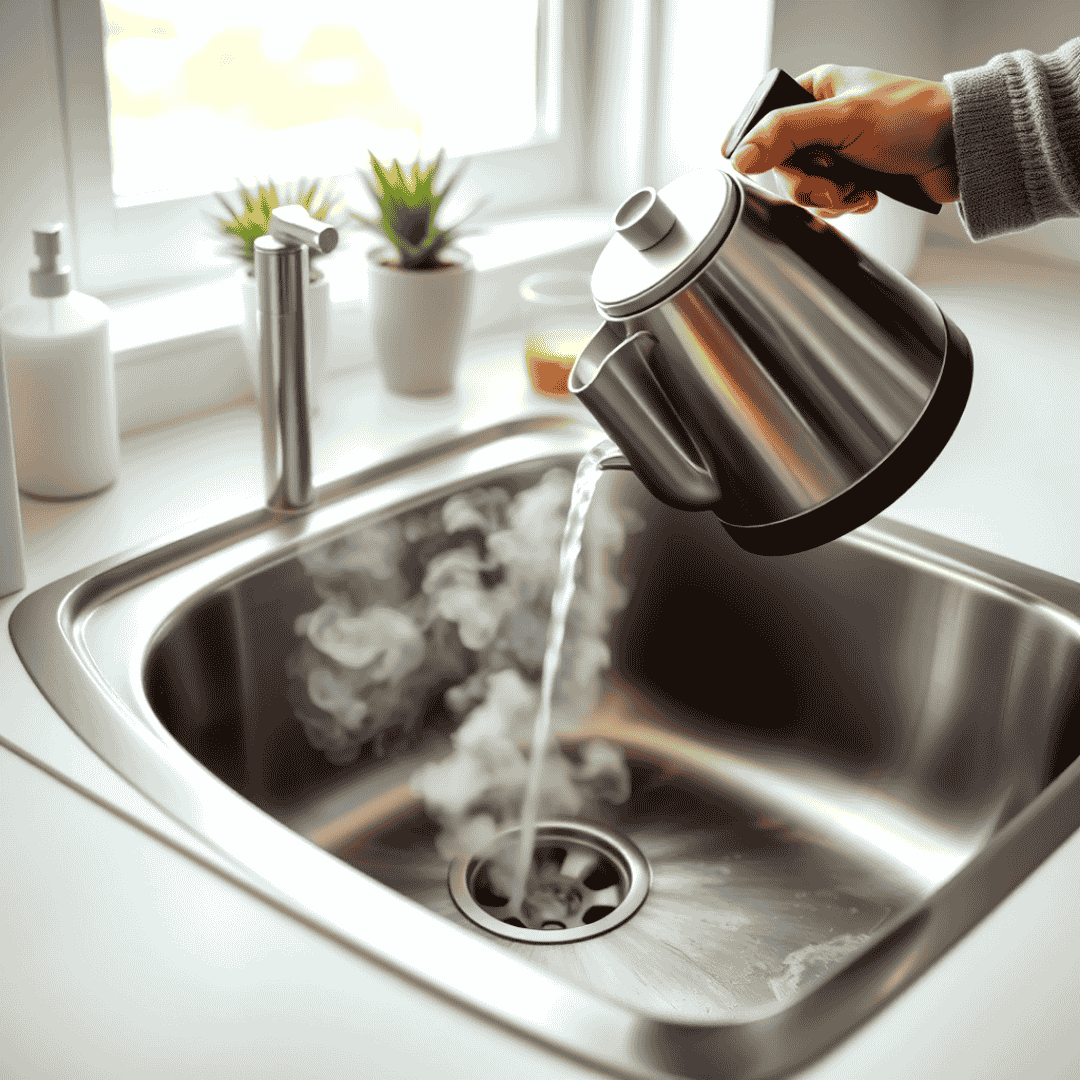
Flushing your kitchen sink drain with hot water is a simple and efficient way to get rid of food particles, soap scum, and a little grease accumulation. Before attempting alternative cleaning techniques, this procedure works best as a first step.
Detailed Instructions:
Boil Water: Pour water into a big saucepan or kettle and heat it to a rolling boil (100°C or 212°F).
Verify the Material of Your Pipe: Boiling water can be poured straight down the drain if your pipes are made of metal. To avoid warping or damage to plastic (PVC) pipes, let the water cool for five to ten minutes after boiling.
Pour with caution: Pour the hot water slowly and steadily into the drain. Pouring too fast may result in splashing or ineffective water penetration.
Repeat if Necessary: You might need to repeat this procedure two or three times if the accumulation is obstinate. To assist in removing any muck, leave the hot water in the drain for a minute in between pours.
Test the drain: Run hot tap water for 15–30 seconds after pouring. If it drains easily, the drain is likely clear.
Safety Tips:
- Boiling water should always be handled carefully to prevent burns.
- If your sink or drain has plastic components that can’t tolerate high temperatures, never use boiling water.
Why This Works:
Grease and soap residue that might clog pipes are melted and flushed away by hot water. To maintain pipes clear and odor-free, flush your drain with hot water once a week or after using greasy dishes.
Note: If, after flushing, water is still backed up, you might need to attempt other cleaning techniques to clear a more stubborn blockage.
Method 2: Using a Kitchen Sink Drain Strainer
A kitchen sink drain strainer prevents clogs by catching food scraps, grease, and debris before they enter the drainpipe. It reduces blockages and can be easily removed to clean trapped debris. This helps keep water flowing smoothly and lessens the need for chemical cleaners or a plumber.
Here are some of my favorite and recommended kitchen sink drain strainers/stoppers:
zaa Kitchen Sink Drain Strainer
Hilltop Products Kitchen Sink Strainer and Stopper
Method 3: Clean with Natural Cleaners: Baking Soda and Vinegar
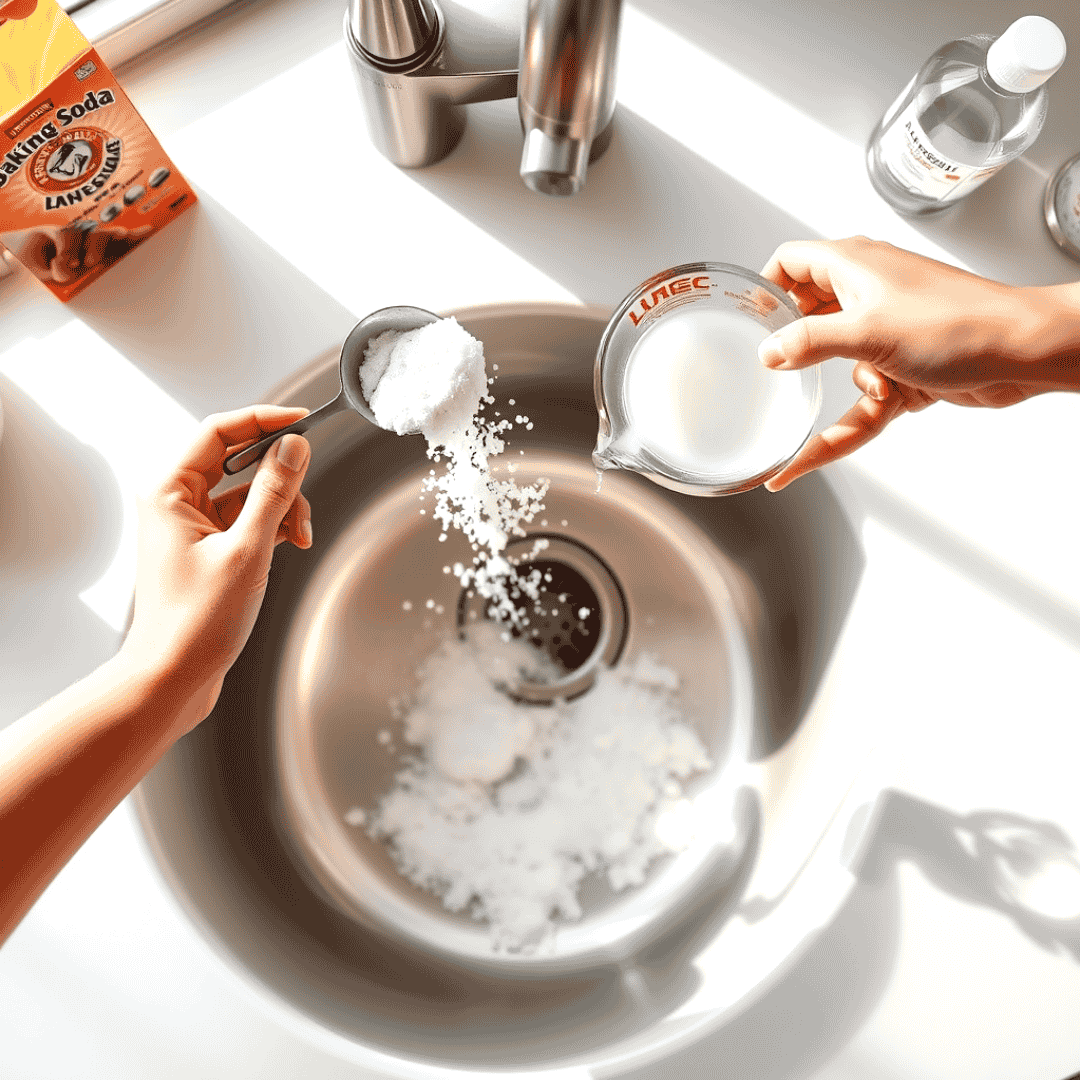
Chemical drain cleaners frequently have detrimental consequences on the environment and your plumbing. An eco-friendly, safe, and efficient alternative is to use natural cleansers like vinegar and baking soda. Without the use of harsh chemicals, these common home items may clear blockages, eliminate odors, and help with maintaining a healthy drain. Here is a comprehensive, step-by-step guide on how to use them for the drain in your kitchen sink:
What You’ll Require
- One cup, or around 220 grams, of baking soda
- Three cups (710 ml) of white vinegar that has been distilled
- Boiling water in a kettle or saucepan
- Lemon juice or aromatic oils for a clean aroma are optional.
- Butter knife or spoon (to push baking soda)
Step 1: Prepare and Add Baking Soda
Clear the sink of any visible debris and standing water.
Pour approximately one cup of baking soda straight into the drain with caution. Use the end of a spoon or butter knife to gently press it farther in if it clumps at the top.
For ten to fifteen minutes, let the baking soda settle. This allows it time to absorb smells and start removing dirt from the pipes.
Step 2: Pour in Hot Vinegar
– In a small kettle or pot, heat up approximately 3 cups of distilled white vinegar to boiling. When the mixture reaches a boil, remove it from the heat source.
– Carefully and slowly pour the heated vinegar down into the drain with the baking soda. When the vinegar combines with the baking soda, you’ll notice a foaming and bubbling action. This action helps to break down blockages and to clean and sanitize the drain pipes.
– If you’re looking to make it stronger, then simply stop up the drain for a couple of minutes once you’ve poured to try to concentrate the reaction in the pipes.
Step 3: Let it Work and Rinse
– Leave the solution to sit and do its work for 5 to 10 minutes so that the fizzing action and the acids of the vinegar can remove bacteria and grease.
– Boil a second pot of water in the meantime.
– Once the time is up, flush the drain with hot water to wash away loose grime and rinse your pipes.
How Often Should You Use This Method?
For optimal results, use this mixture to clean kitchen sink drains once a week. You’ll notice that the drain gets unobstructed and the odor disappears. If not, you can use this formula anytime you notice odor and restricted drainage.
Tips to enhance cleaning efficiency and experience:
- A splash of lemon juice or a few drops of essential oils (tea tree, eucalyptus, or lavender) added at the end can make cleaning more pleasant.
- Pour a cup of lemon juice mixed with some baking soda down the drain, follow it with some hot water to get rid of any smells and avoid any blockage.
- Avoid putting grease, coffee granules, or stringy peels, etc. Down the drain, this can cause a blockage.
Troubleshooting:
– If your drain is still running slowly, simply repeat this procedure or attempt another method like plunging or cleaning the sink trap.
– Do not use this method after using a commercial chemical drain cleaner. The two mixtures of chemicals can release hazardous fumes.
The regular use of baking soda and vinegar will prevent any nasty smells from your kitchen sink or drains, and will keep them clear. It is a simple and cheap alternative, which is also friendly to your plumbing and to the environment.
Method 4: Use a Plunger for Slow-Draining Sinks
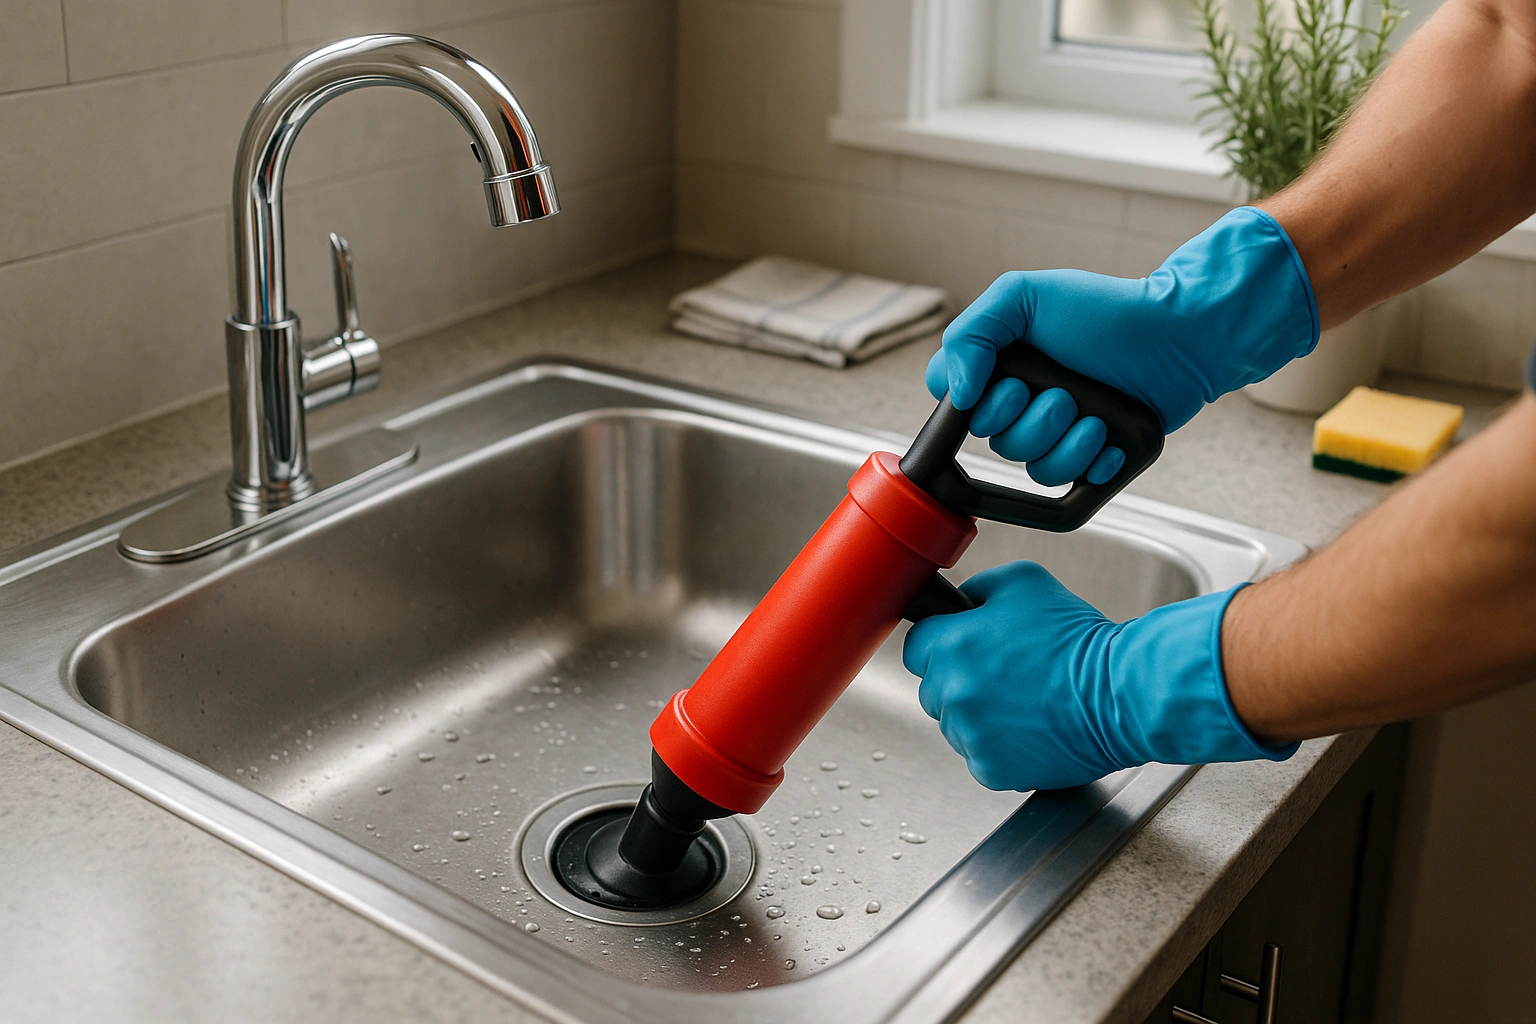
A blocked drainpipe may form if water is collecting in the sink or slowly going down the sink. A simple way of preventing the drainpipe blockage from becoming a larger problem is to use a plunger. This gadget operates by suction, which will either break up or remove the obstruction in the drainpipe.
Step-by-Step Instructions:
Eliminate Extra Water: If there is standing water in the washbasin, empty it until the water level is slightly over the drain hole. This contributes to the required suction and seal.
Seal the Drain: To achieve a tight seal, place the rubber cup of the plunger firmly over the drain. To increase suction, if you have a double sink, use a stopper or a damp cloth to block the other drain.
Plunge Effectively: Keeping the plunger vertically upright, gently lower it down, and pull up quickly. Repeatedly repeat the plunging process with strong and sustained plunges approximately 20-30 times. You will feel resistance and then a release as the clog loosens.
Check Progress: After a few plunges, take the plunger out and see whether the water starts to drain. If not, try plunging a couple more times.
Flush the Drain: Now that water is draining, run hot tap water down the drain for about 1-2 minutes to flush the pipe.
Helpful Tips:
- You can use a sink plunger because it works better than a toilet plunger.
- If plunging the sink doesn’t work after several attempts, you may want to try other methods, like clearing out the sink trap or using a plumber’s snake.
- Do not use chemical drain cleaners before or after plunging the sink, because they will splash back onto you during plunging and can cause burns.
A plunger delivers an inexpensive, non-toxic, and generally safe method to solve many smaller kitchen sink blockages without having to strip your pipes.
Method 5: Clean Out the Sink Trap
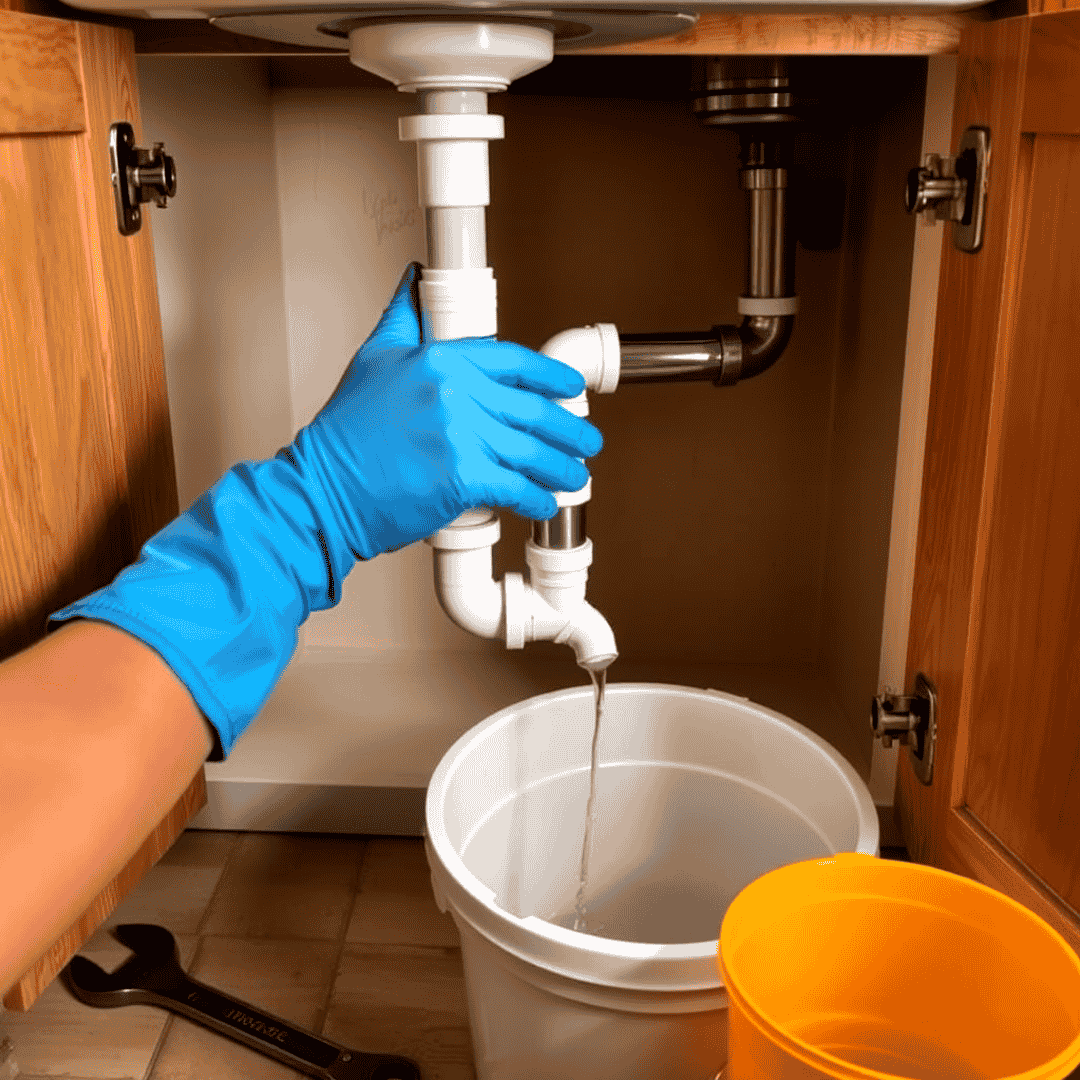
If the plunge doesn’t work, it could be lodged in the trap, the U-shaped pipe underneath your sink that funnels water away (also known as the P-trap). This piece traps food particles, grease, and other debris that are responsible for the most stubborn clogs. Removing it is quite simple, but it can also be messy. Here’s a detailed guide:
Step-by-Step Instructions:
Have a bucket or large bowl positioned below the trap to catch any water or dirt that may fall out when you disconnect it.
Pull on a pair of rubber gloves to protect your hands from grime and dirty water.
Find the two slip nuts connected to either end of the trap (where it connects to the sink and where it connects to the wall pipe) and loosen and unscrew them by hand or with an adjustable wrench.
Gently remove the trap and pour out any standing water and debris into your bucket.
Use a garden hose or another sink to give the trap a thorough rinse. Use a bottle brush, an old toothbrush, or a straightened wire hanger to scrape the interior until it is clear of stubborn deposits.
To stop leaks during reassembly, check the washers and seals for wear or damage and replace them if needed.
Replace the clean trap and tighten the nuts using your hand until they are hand-tight (do not over-tighten). Make sure the trap is fitted in the correct orientation.
Flush the sink to check that the trap is not leaking and that the sink is draining correctly. Tighten joints where water appears to be dripping from.
Additional tips:
- Place old towels over the surrounding areas to catch any splashes.
- Don’t ever use a chemical drain cleaner before or during the process, as any residue might be splashed onto you.
- If you have a dishwasher, check that the drain hose is correctly reconnected when you reassemble the trap.
Make sure everything is secure and leak-free before using the sink after cleaning. Every few months, the sink trap should be cleaned to preserve plumbing and avoid blockages.
Method 6: Use a Plumber’s Snake for Deep Clogs
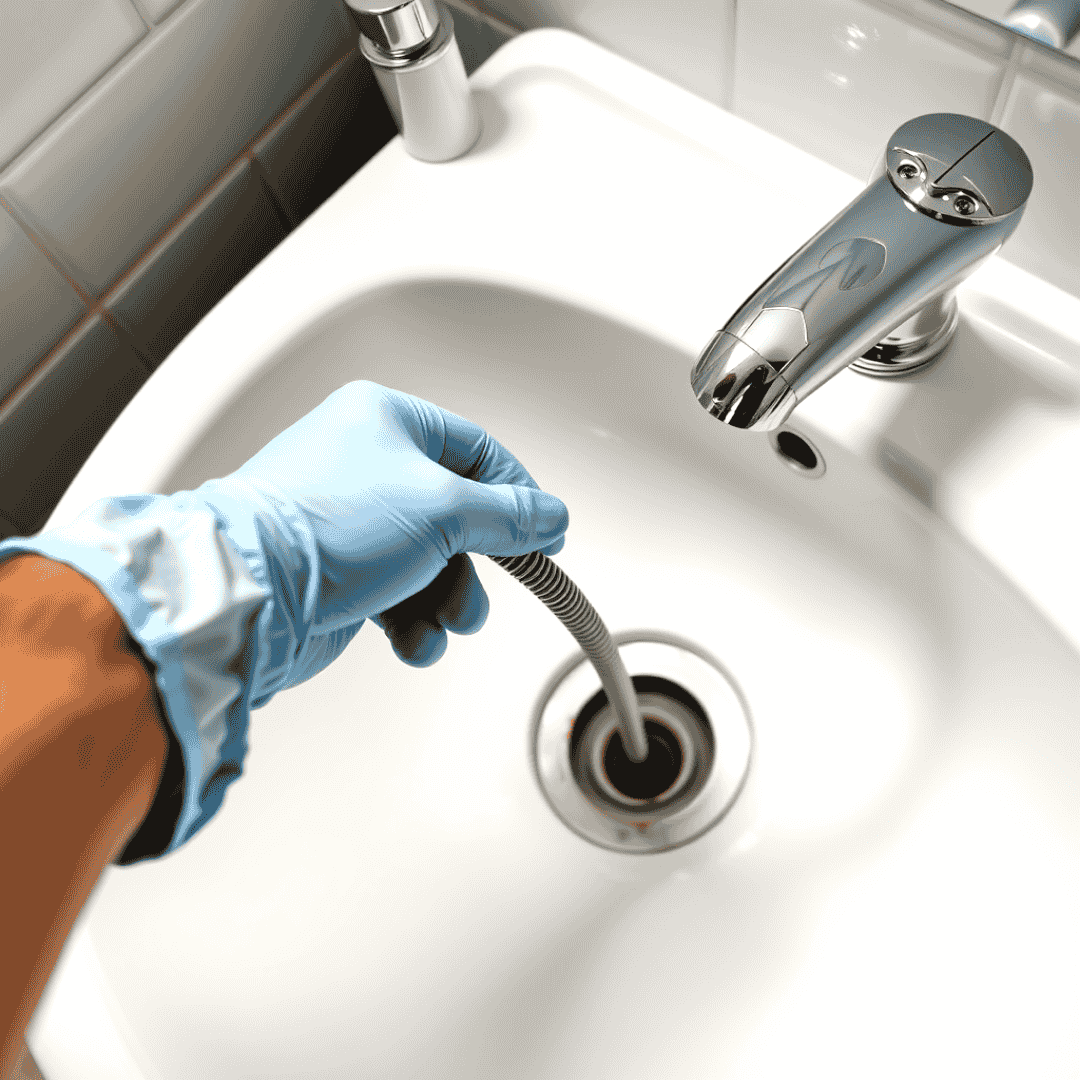
If nothing else works and your drain is still backed up, the blockage might be further down the pipe. A plumber’s snake (also called a drain auger) is a long, coiled piece of equipment that is able to delve further into the pipes. You can purchase one at most hardware stores or Amazon.
Detailed guide:
Wear rubber gloves and position a bucket underneath the sink to catch water or debris.
If possible, remove the P-trap under the sink to access the drain pipe directly.
Push the plumber’s snake end into the drain opening or pipe. Push until you reach resistance, which may be the clog.
Twist the handle in a clockwise direction and push further in to clear or catch the clog. Do not force if the snake seems difficult to twist, as you may damage your pipes.
Keep feeding and spinning the snake until the resistance decreases or the snake gets past the clog.
Gently remove the snake while clearing away any trash.
If you took the sink trap apart, put it back together.
Thoroughly flush the drain with hot water to check drainage and remove any loose material.
Helpful tips:
- If a clog is difficult, repeat this process, or use a longer snake
- After unclogging the drain. Clean the snake thoroughly with a disinfectant to prevent transferring bacteria.
- Do not force anything. Forcing will only cause more damage to the pipes.
- If a clog remains, despite repeating this process multiple times, a professional plumber should be called.
Hard or stubborn sink blockages can be removed effectively with a plumber’s snake, and drainage is restored without chemicals.
Final Thoughts
Hopefully, you now have some ideas for cleaning out your kitchen sink drain. You do not need chemicals or need to hire a plumber to clean out the kitchen sink drain. You are now capable of doing it yourself using some kitchen supplies and a couple of tools. The secret is to maintain it often, flush, deodorize, and clean on a weekly basis. If you perform the steps, it will probably only be seldom that you ever have a kitchen sink drain plug.
Read also:
How to Keep Kitchen Clean and Organized: 15 Practical Tips That Work
How to Update Old Kitchen Cabinets Without Replacing Them? – 7 Unique Tips and Ideas
How to Organize the Space Under the Kitchen Sink?
How to Remove Stains from Kitchen Countertops: A Step-by-Step Guide

My name is Mostarefa. I am a content creator and editor of ideasformyhome.com. I am an expert in home improvement. In this blog, I write about home improvement ideas, trending home decor ideas, and cleaning & organizing tips.